Using small machines to create a Proxmox cluster

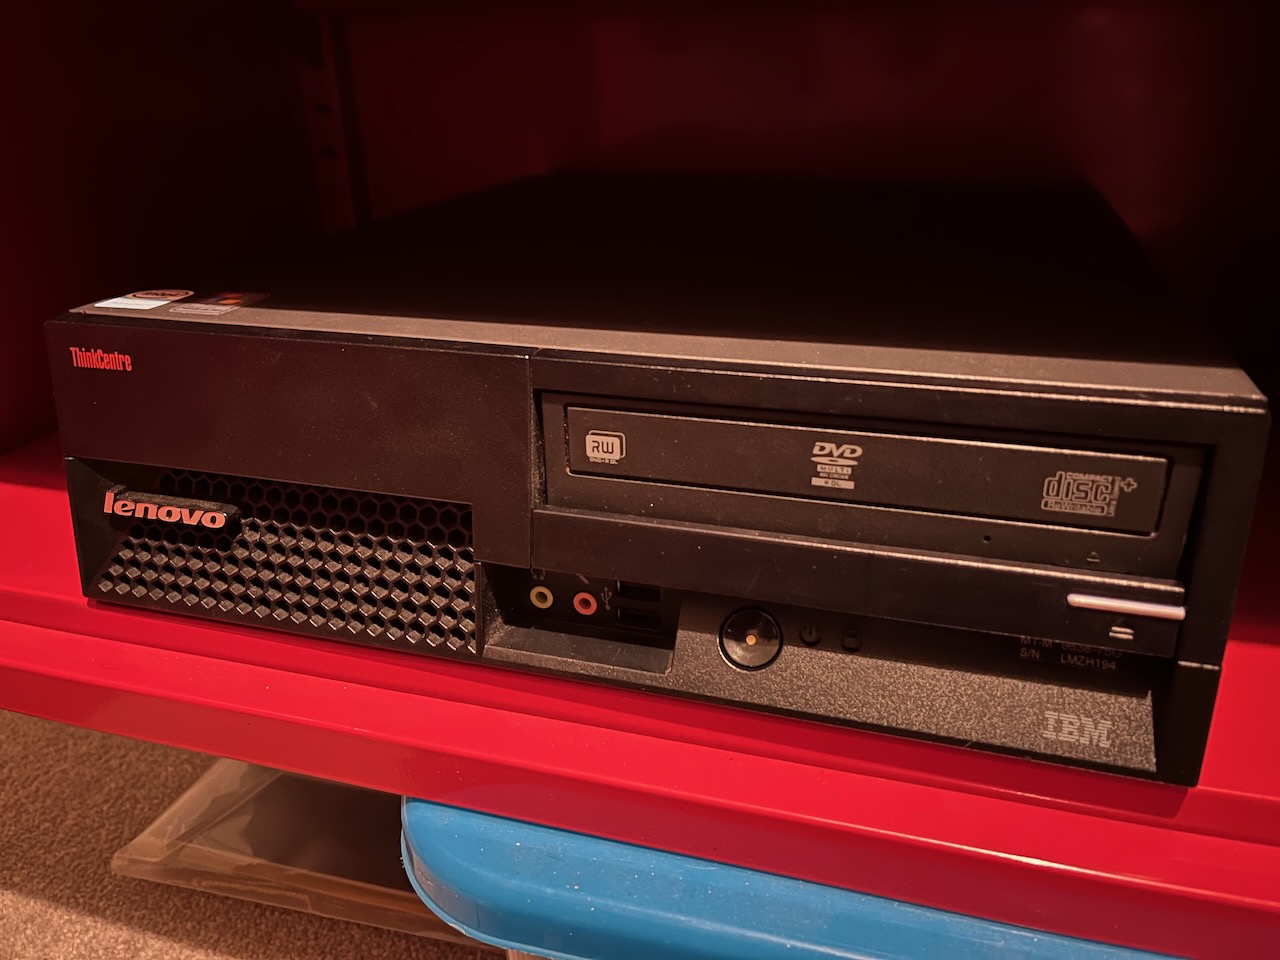
Table of contents
- Intro
- The Machines
- Sonatype Nexus Repository
- Proxmox Virtual Environment (VE)
- Proxmox Backup Server (BS)
- Setup Virtual Environment Nodes
Intro
My first Thinkcenter was bought to replace my old “Shed Server” an old HP 3ghz pentium 4 pc with 1gb of ram that I rescued from e-waste from work.
I upgraded it with a 320GB Western digital raptor drive and installed a student edition of windows server 2008 to run my website via IIS before I used to host it on GitHub Pages.
It was affectionately called the “Shed Server” as it was installed in my garden shed and connected to the internet via WiFi in my flat whilst I was in University.
It was likely due to this, why it eventually went to Silicon Heaven, probably due to the extreme changes in temperature, humidity or by being a home to many a spider.
The replacement for "Shed Server" was named "Lenny" (just because it is a Lenovo) and going forward my Proxmox cluster name of Thinkcenter Tinys has inherited the Monika.
The Machines
Small Form Factor
| Item | CPU | Memory | Wifi | Ethernet | Storage | OS | Hostname | Notes |
|---|---|---|---|---|---|---|---|---|
| A55 9638 | Core2Duo-6600 | 4GB Samsung 666MHz | TP-Link Wireless-N PCI Adapter | Onboard | 320GB WD Raptor 3.5" | Windows Server 2008 | Lenny |
Tiny 1L
Router
| Item | CPU | Memory | Wifi | Ethernet | Storage | OS | Hostname | Notes |
|---|---|---|---|---|---|---|---|---|
| M720Q | i5-8400T | 8GB Micron 2133MHz | Intel Wireless 8265, No Antenna | Intel I219-V Gigabit & Intel PRO I350 Quad Port Gigabit | 256GB Sandisk 2.5" SATA SSD | Proxmox VE (9.1.4) | Scrooge | |
| M720Q | i5-8400T | 8GB Micron 2133MHz | Intel Wireless 8265, No Antenna | Intel I219-V Gigabit & Intel PRO I350 Quad Port Gigabit | 256GB Sandisk 2.5" SATA SSD | Proxmox VE (9.1.4) | Duckworth |
Note
These machines will not be part of the main Proxmox cluster but will replace some aging and no longer supported gigabit switches in the house, and will also host VMs for Proxmox Datacenter Manager and Sonatype Nexus Repository Community Edition
Proxmox Cluster
| Item | CPU | Memory | Wifi | Ethernet | NVME | SATA | OS | Hostname | Notes |
|---|---|---|---|---|---|---|---|---|---|
| M720Q | i5-8500T | 32GB Hypertec 2400MHz | Removed | Intel I219-V Gigabit & Realtek RTL8125 2.5GbE | 1TB Crucial P3 Plus M.2 NVME SSD | 256GB Micron 1300 2.5" SATA SSD | Proxmox VE (9.1.4) | Huey | Installed in 10" Rack |
| M720Q | i5-8500T | 32GB Hypertec 2400MHz | Removed | Intel I219-V Gigabit & Realtek RTL8125 2.5GbE | 1TB Crucial P3 Plus M.2 NVME SSD | 256GB Micron 1300 2.5" SATA SSD | Proxmox VE (9.1.4) | Dewey | Installed in 10" Rack |
| M720Q | i5-8500T | 32GB Hypertec 2400MHz | Removed | Intel I219-V Gigabit & Realtek RTL8125 2.5GbE | 1TB Crucial P3 Plus M.2 NVME SSD | 256GB Micron 1300 2.5" SATA SSD | Proxmox VE (9.1.4) | Louie | Installed in 10" Rack |
Spare
| Item | CPU | Memory | Wifi | Ethernet | NVME | SATA | OS | Hostname | Notes |
|---|---|---|---|---|---|---|---|---|---|
| M720Q | i5-8500T | 16GB Ramaxel 2666MHz | Removed | Intel I219-V Gigabit | 256GB Micron 1300 2.5" SATA SSD | Proxmox VE (9.1.4) | Donald | Installed in 10" Rack | |
| M720Q | i5-8500T | 16GB Micron 2666MHz | Removed | Intel I219-V Gigabit | 512GB Micron 3400 M.2 NVME SSD | 256GB Micron 1300 2.5" SATA SSD | Proxmox VE (9.1.4) | Daisy | Installed in 10" Rack |
Desktops
| Item | CPU | Memory | Wifi | Ethernet | NVME | SATA | OS | Hostname | Notes |
|---|---|---|---|---|---|---|---|---|---|
| M720Q | i5-9400T | 16GB SK Hynix 2666MHz | Intel Wireless 8265, With Antenna | Intel I219-V Gigabit | 256GB Samsung 2.5" SATA SSD | Windows 11 Pro 64 | |||
| M720Q | i5-9400T | 16GB SK Hynix 2666MHz | Intel Wireless 8265, With Antenna | Intel I219-V Gigabit | 256GB Samsung 2.5" SATA SSD | Windows 11 Pro 64 | |||
| M710Q | i7-7700T | 16GB SK Hynix 2400MHz | Intel Dual Band Wireless-AC 3165, With Antenna | Intel I219-V Gigabit | 256GB WD Black M.2 NVME SSD | 1TB WD Black 2.5" SATA SSHD | Proxmox VE (9.1.4) | With Lenovo VESA Mount |
Sonatype Nexus Repository
As most of the Operating Systems I use are based upon Debian I have chosen to install Nexus to host APT proxies for the main Debian repositories so that updates will only be downloaded once and each machine can then retrieve the local copy from Nexus rather than having to re-download the updates from the internet.
Download Nexus and Install to /srv
cd Downloads/
wget https://download.sonatype.com/nexus/3/nexus-3.83.1-03-linux-x86_64.tar.gz
tar xvf nexus-3.83.1-03-linux-x86_64.tar.gz
sudo mv nexus-3.83.1-03 /srv
sudo mv sonatype-work/ /srv
sudo adduser nexus --system
sudo chown -R nexus:nogroup /srv/nexus-3.83.1-03/
sudo chown -R nexus:nogroup /srv/sonatype-work/
Update Config
Add the following to /srv/nexus-3.83.1-03/bin/nexus.rc:
run_as_user="nexus"
Add the following to /srv/nexus-3.83.1-03/bin/nexus.vmoptions:
# Updated Memory Size
  -Xms1200m
  -Xmx1200m
  -XX:MaxDirectMemorySize=2G
# Added User Root to fix file permissions error on nexus boot
-Djava.util.prefs.userRoot=../sonatype-work/nexus3/javaprefs
Install As Service
Create a symbolic link to the binary of the latest Nexus version:
sudo ln -s /srv/nexus-3.83.1-03/bin/nexus /etc/init.d/nexus
Create the file /etc/systemd/system/nexus.service with the content:
[Unit]
Description=nexus service
After=network.target

[Service]
Type=forking
LimitNOFILE=65536
ExecStart=/etc/init.d/nexus start
ExecStop=/etc/init.d/nexus stop
User=nexus
Restart=on-abort
TimeoutSec=600

[Install]
WantedBy=multi-user.target
Enable and start the service and check the logs:
sudo systemctl daemon-reload
sudo systemctl enable nexus.service
sudo systemctl start nexus.service
journalctl -xeu nexus.service
tail -f /srv/sonatype-work/nexus3/log/nexus.log
cat /srv/sonatype-work/nexus3/log/nexus.log | grep ERROR
cat /srv/sonatype-work/nexus3/log/nexus.log | grep WARN
Nexus Frontend
cat /opt/sonatype-work/nexus3/admin.password
- Visit http://localhost:8081/
- Change Admin Password
- Add APT Proxies
Proxmox Virtual Environment (VE)
Each of the nodes that I want to run Proxmox on will be set up with the following config.
Proxmox VE Post Install Script
bash -c "$(curl -fsSL https://raw.githubusercontent.com/community-scripts/ProxmoxVE/main/tools/pve/post-pve-install.sh)"
bash -c "$(curl -fsSL https://raw.githubusercontent.com/community-scripts/ProxmoxVE/main/tools/pve/scaling-governor.sh)"
bash -c "$(curl -fsSL https://raw.githubusercontent.com/community-scripts/ProxmoxVE/main/tools/pve/microcode.sh)"
Update APT Repositories
One of the first things I do when setting up a new machine is to update apt to use the Nexus repository we set up in the last section.
nano /etc/apt/auth.conf.d/nexus.mikethomas.info.conf
nano /etc/apt/sources.list
nano /etc/apt/sources.list.d/ceph.list
nano /etc/apt/sources.list.d/pve-enterprise.list
nano /etc/apt/sources.list.d/pbs-enterprise.list
nano /etc/apt/sources.list.d/pve-install-repo.list
nano /etc/apt/sources.list.d/pbs-install-repo.list
nano /etc/apt/sources.list.d/pvetest-for-beta.list
nano /etc/apt/sources.list.d/pbstest-for-beta.list
Install Useful tools
apt update
apt install avahi-daemon htop net-tools
systemctl status avahi-daemon
htop
ifconfig
Microcode
AMD
apt list --installed | grep microcode
apt install amd64-microcode
dmesg | grep microcode
Intel
apt list --installed | grep microcode
apt install intel-microcode
dmesg | grep microcode
Sensors
apt install lm-sensors
modprobe nct6683 force=on
sensors
Update Container images
pveam update
HDMI audio crackling fix
echo "options snd-hda-intel enable_msi=1" >> /etc/modprobe.d/snd-hda-intel.conf
PCI(e) Passthrough
Verify IOMMU is enabled
dmesg | grep -e AMD -e DMAR -e IOMMU
There should be a line that looks like "DMAR: IOMMU enabled". If there is no output, something is wrong.
Verify IOMMU interrupt remapping is enabled
dmesg | grep 'remapping'
You should see one of the following lines:
AMD-Vi: Interrupt remapping enabled
DMAR-IR: Enabled IRQ remapping in x2apic mode ('x2apic' can be different on old CPUs, but should still work)
Enable IOMMU
AMD
update to the following in /etc/default/grub:
GRUB_CMDLINE_LINUX="iommu=pt pcie_acs_override=downstream initcall_blacklist=sysfb_init"
Intel
update to the following in /etc/default/grub:
GRUB_CMDLINE_LINUX="intel_iommu=on iommu=pt initcall_blacklist=sysfb_init"
Update grub
update-grub
reboot
cat /proc/cmdline
VFIO
echo "vfio" >> /etc/modules
echo "vfio_iommu_type1" >> /etc/modules
echo "vfio_pci" >> /etc/modules
update-initramfs -u -k all
Get Hardware IDs
lspci -nnk | grep -e 'AMD' -e 'Intel'
pvesh get /nodes/{nodename}/hardware/pci --pci-class-blacklist ""
AMD
echo "options vfio-pci ids=1002:67df,1002:aaf0 disable_vga=1" >> /etc/modprobe.d/vfio.conf
echo "softdep radeon pre: vfio-pci" >> /etc/modprobe.d/vfio.conf
echo "softdep amdgpu pre: vfio-pci" >> /etc/modprobe.d/vfio.conf
Intel
echo "options vfio-pci ids=8086:5912,8086:a2f0 disable_vga=1" >> /etc/modprobe.d/vfio.conf
echo "softdep i915 pre: vfio-pci" >> /etc/modprobe.d/vfio.conf
echo "softdep snd_hda_intel pre: vfio-pci" >> /etc/modprobe.d/vfio.conf
echo "softdep snd_hda_codec_hdmi pre: vfio-pci" >> /etc/modprobe.d/vfio.conf
Verify Enabled
reboot
dmesg | grep -i vfio
lsmod | grep vfio
Dump GPU BIOS
cd /sys/bus/pci/devices/0000:01:00.0/
echo 1 > rom
cat rom > /usr/share/kvm/r9270.bin
echo 0 > rom
Mediated Devices (vGPU, GVT-g)
echo "i915.enable_gvt=1" >> /etc/modules
ls /sys/bus/pci/devices/0000:00:02.0/mdev_supported_types
lsmod | grep kvmgt
dmesg | grep -iE "gvt"
cat /sys/module/kvm_intel/parameters/nested
Proxmox Backup Server (BS)
Proxmox BS Post Install Script
bash -c "$(curl -fsSL https://raw.githubusercontent.com/community-scripts/ProxmoxVE/main/tools/pve/post-pbs-install.sh)"
bash -c "$(curl -fsSL https://raw.githubusercontent.com/community-scripts/ProxmoxVE/main/tools/pve/pbs_microcode.sh)"
Create Datastore
- Navigate to https://{hostname}.local:8007
- login
- Add Datastore
Setup Virtual Environment Nodes
Setup Network
- Node -> System -> Network -> Linux Bridge -> Edit -> VLAN aware
- Node -> System -> Network -> DNS
- Add 8.8.8.8
- Add 8.8.4.4
Add Resource Mappings
Datacenter -> Resource Mappings -> PCI Devices -> Add
- GPU1 = 0000:00:02.0
- Sound = 0000:00:1f.3
- WiFi = 0000:02:00.0
Datacenter -> Resource Mappings -> USB Devices -> Add
- Bluetooth = 8087:0a2a
- Keyboard1 = 05af:8277
- Mouse1 = 045e:076c
Connect to Grafana
- Datacenter -> Metric Server -> Add -> InfluxDB
- Name = cbridge
- Enabled = Yes
- Server = cbridge.local
- Port = 8089
Add Remote Storage
Proxmox Backup Server
- Datacenter -> Storage -> Add -> Proxmox Backup Server
- Remove
VZDump backupfile fromlocalDirectory storage
NAS
- Datacenter -> Storage -> Add -> NFS
- Remove
Disk imageand AddISO imageandContainer template
- Remove
- Upload ISO images
- Debian 13 KDE
- Windows 10
- Windows 11
- Virtio Windows Drivers
- Download Container templates
- debian-12-standard
- ubuntu-24.04-standard