Putting together my homelab

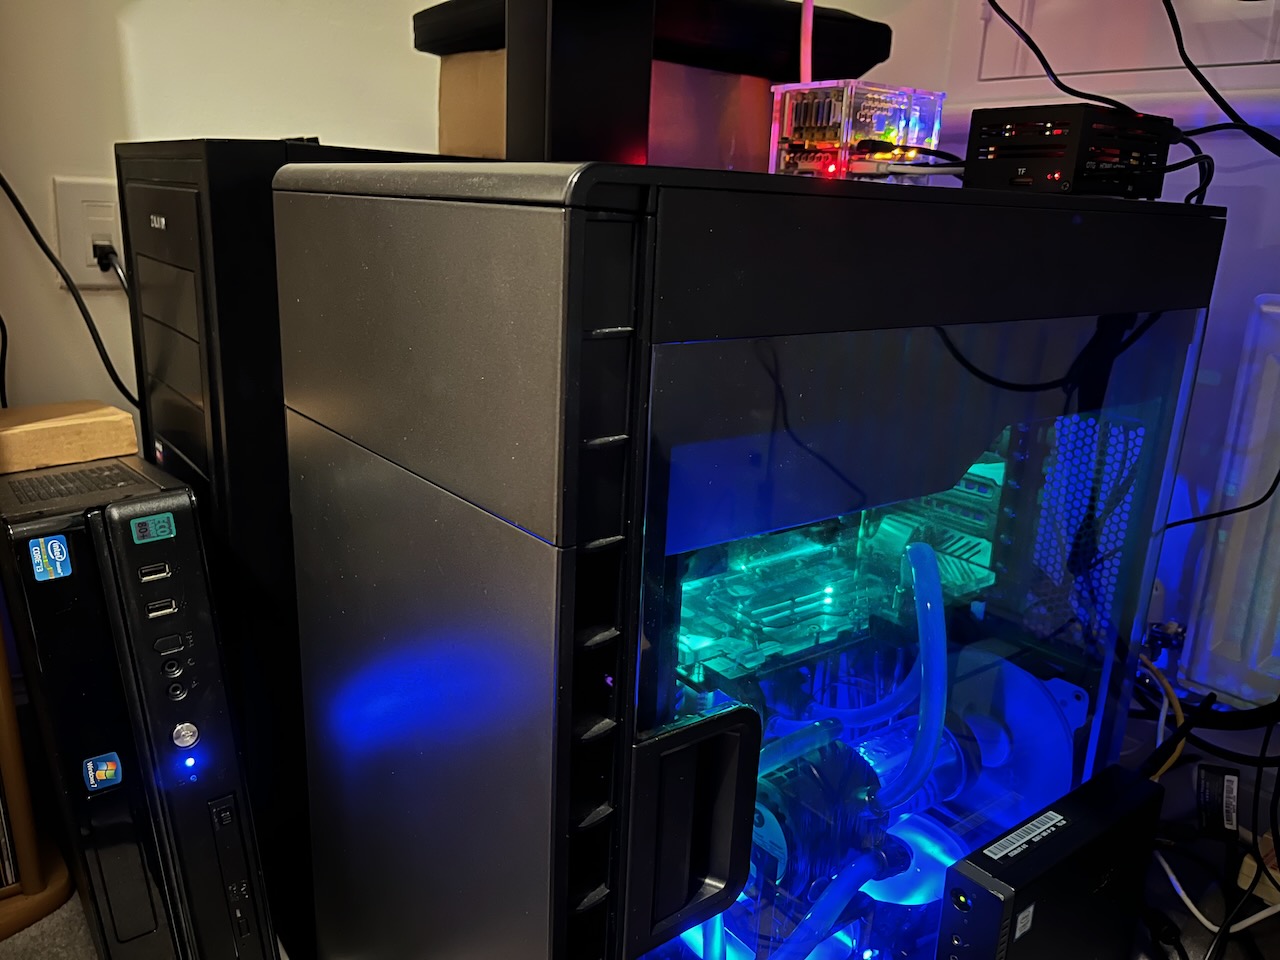
Table of contents
- 10" Server Rack
- Mini Minirack
- Keyboard, Video, and Mouse Switch (KVM)
- Network Attached Storage (NAS)
- Flight Tracker
- Gaming PC
- VR Room
10" Server Rack
Inspired by Jeff Geerling's Project Mini Rack I decided to tidy up all of the Raspberry Pis and Mini PCs that I have strewn around the house into one, hopefully, organised space.
As I have an interest in 3D printing I originally wanted to create my rack using one of the many 3D printed solutions, my favourite of which was MandicReally's Mod10.
Video © 2025 MandicReally
3D Printed Mini Rack (Mod10)
Tecmojo 10" Desktop Mini Rack
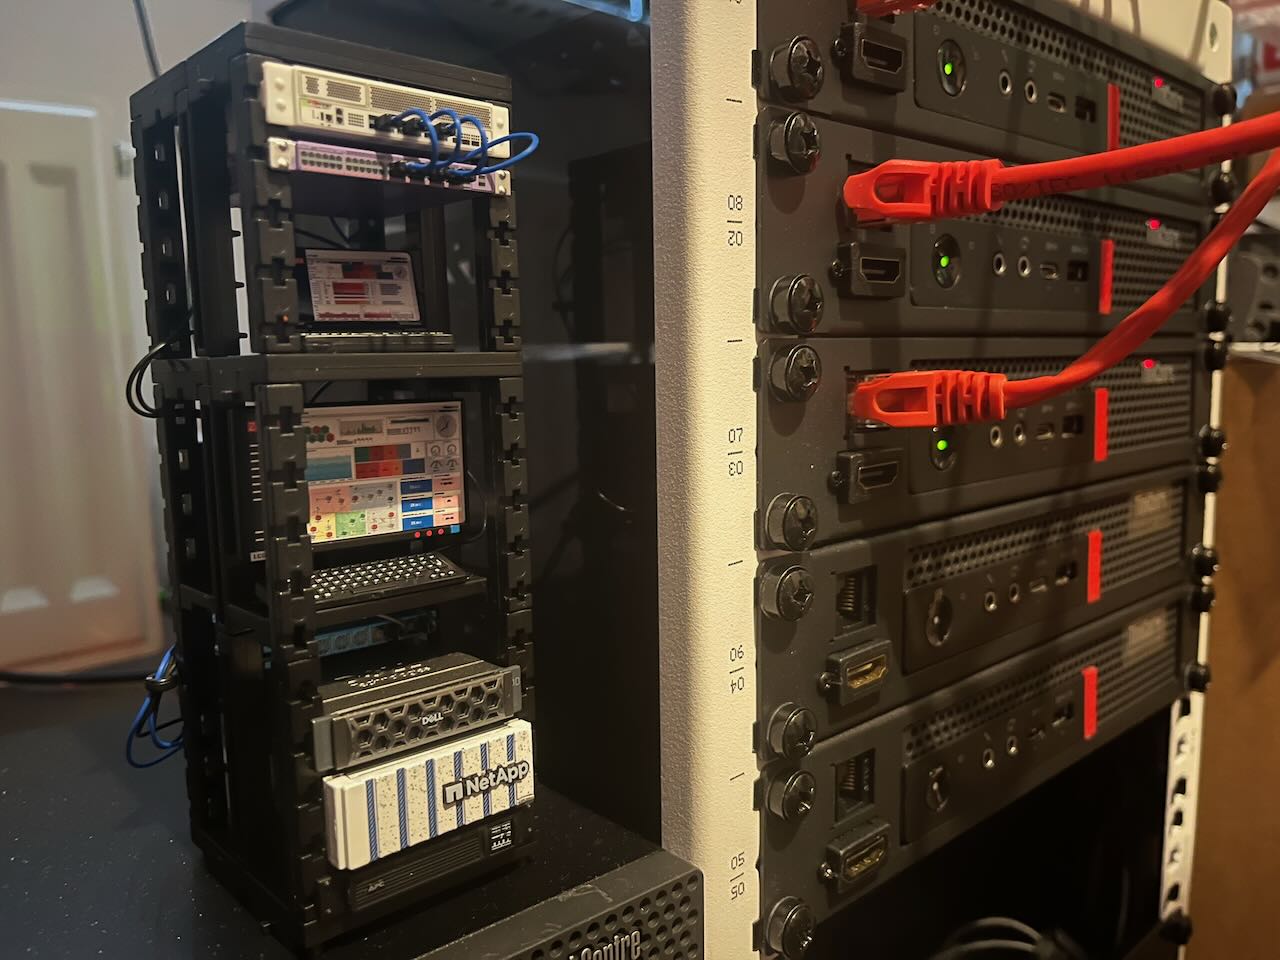
I managed to get a good deal on the 9U Tecmojo 10” Desktop Mini Rack at £76.40 on sale. I have some extra Thinkcenter Mini PCs so will potentially print the Mod10 to house those in the future, however to progress in my homelab journey I will use this to assemble everything going forward.
How I have filled the rack units are as follows:
- Network Switch on top of rack
- 1U Mini PC Rack Shelf (Huey)
- 1U Mini PC Rack Shelf (Dewey)
- 1U Mini PC Rack Shelf (Louie)
- 1U Mini PC Rack Shelf
- 1U Mini PC Rack Shelf
- 2U Raspberry Pi Cluster
- 1U keyboard-video-and-mouse-switch-kvm
- 1U Power Distribution
Mini PC Rack Shelf
| Item | Quantity | Material | Size | Weight | Cost | Printed | Notes |
|---|---|---|---|---|---|---|---|
| ❌ | Replaced by DeskPi RackMate 10" Mini PC Rack Shelf |
Network Switch Rack Mount
| Item | Quantity | Material | Size | Weight | Cost | Printed | Notes |
|---|---|---|---|---|---|---|---|
| 49.67m | 126.64g | £2.07 | ❌ | For TP-Link TL-SG105-M2 |
Raspberry Pi Cluster
Current
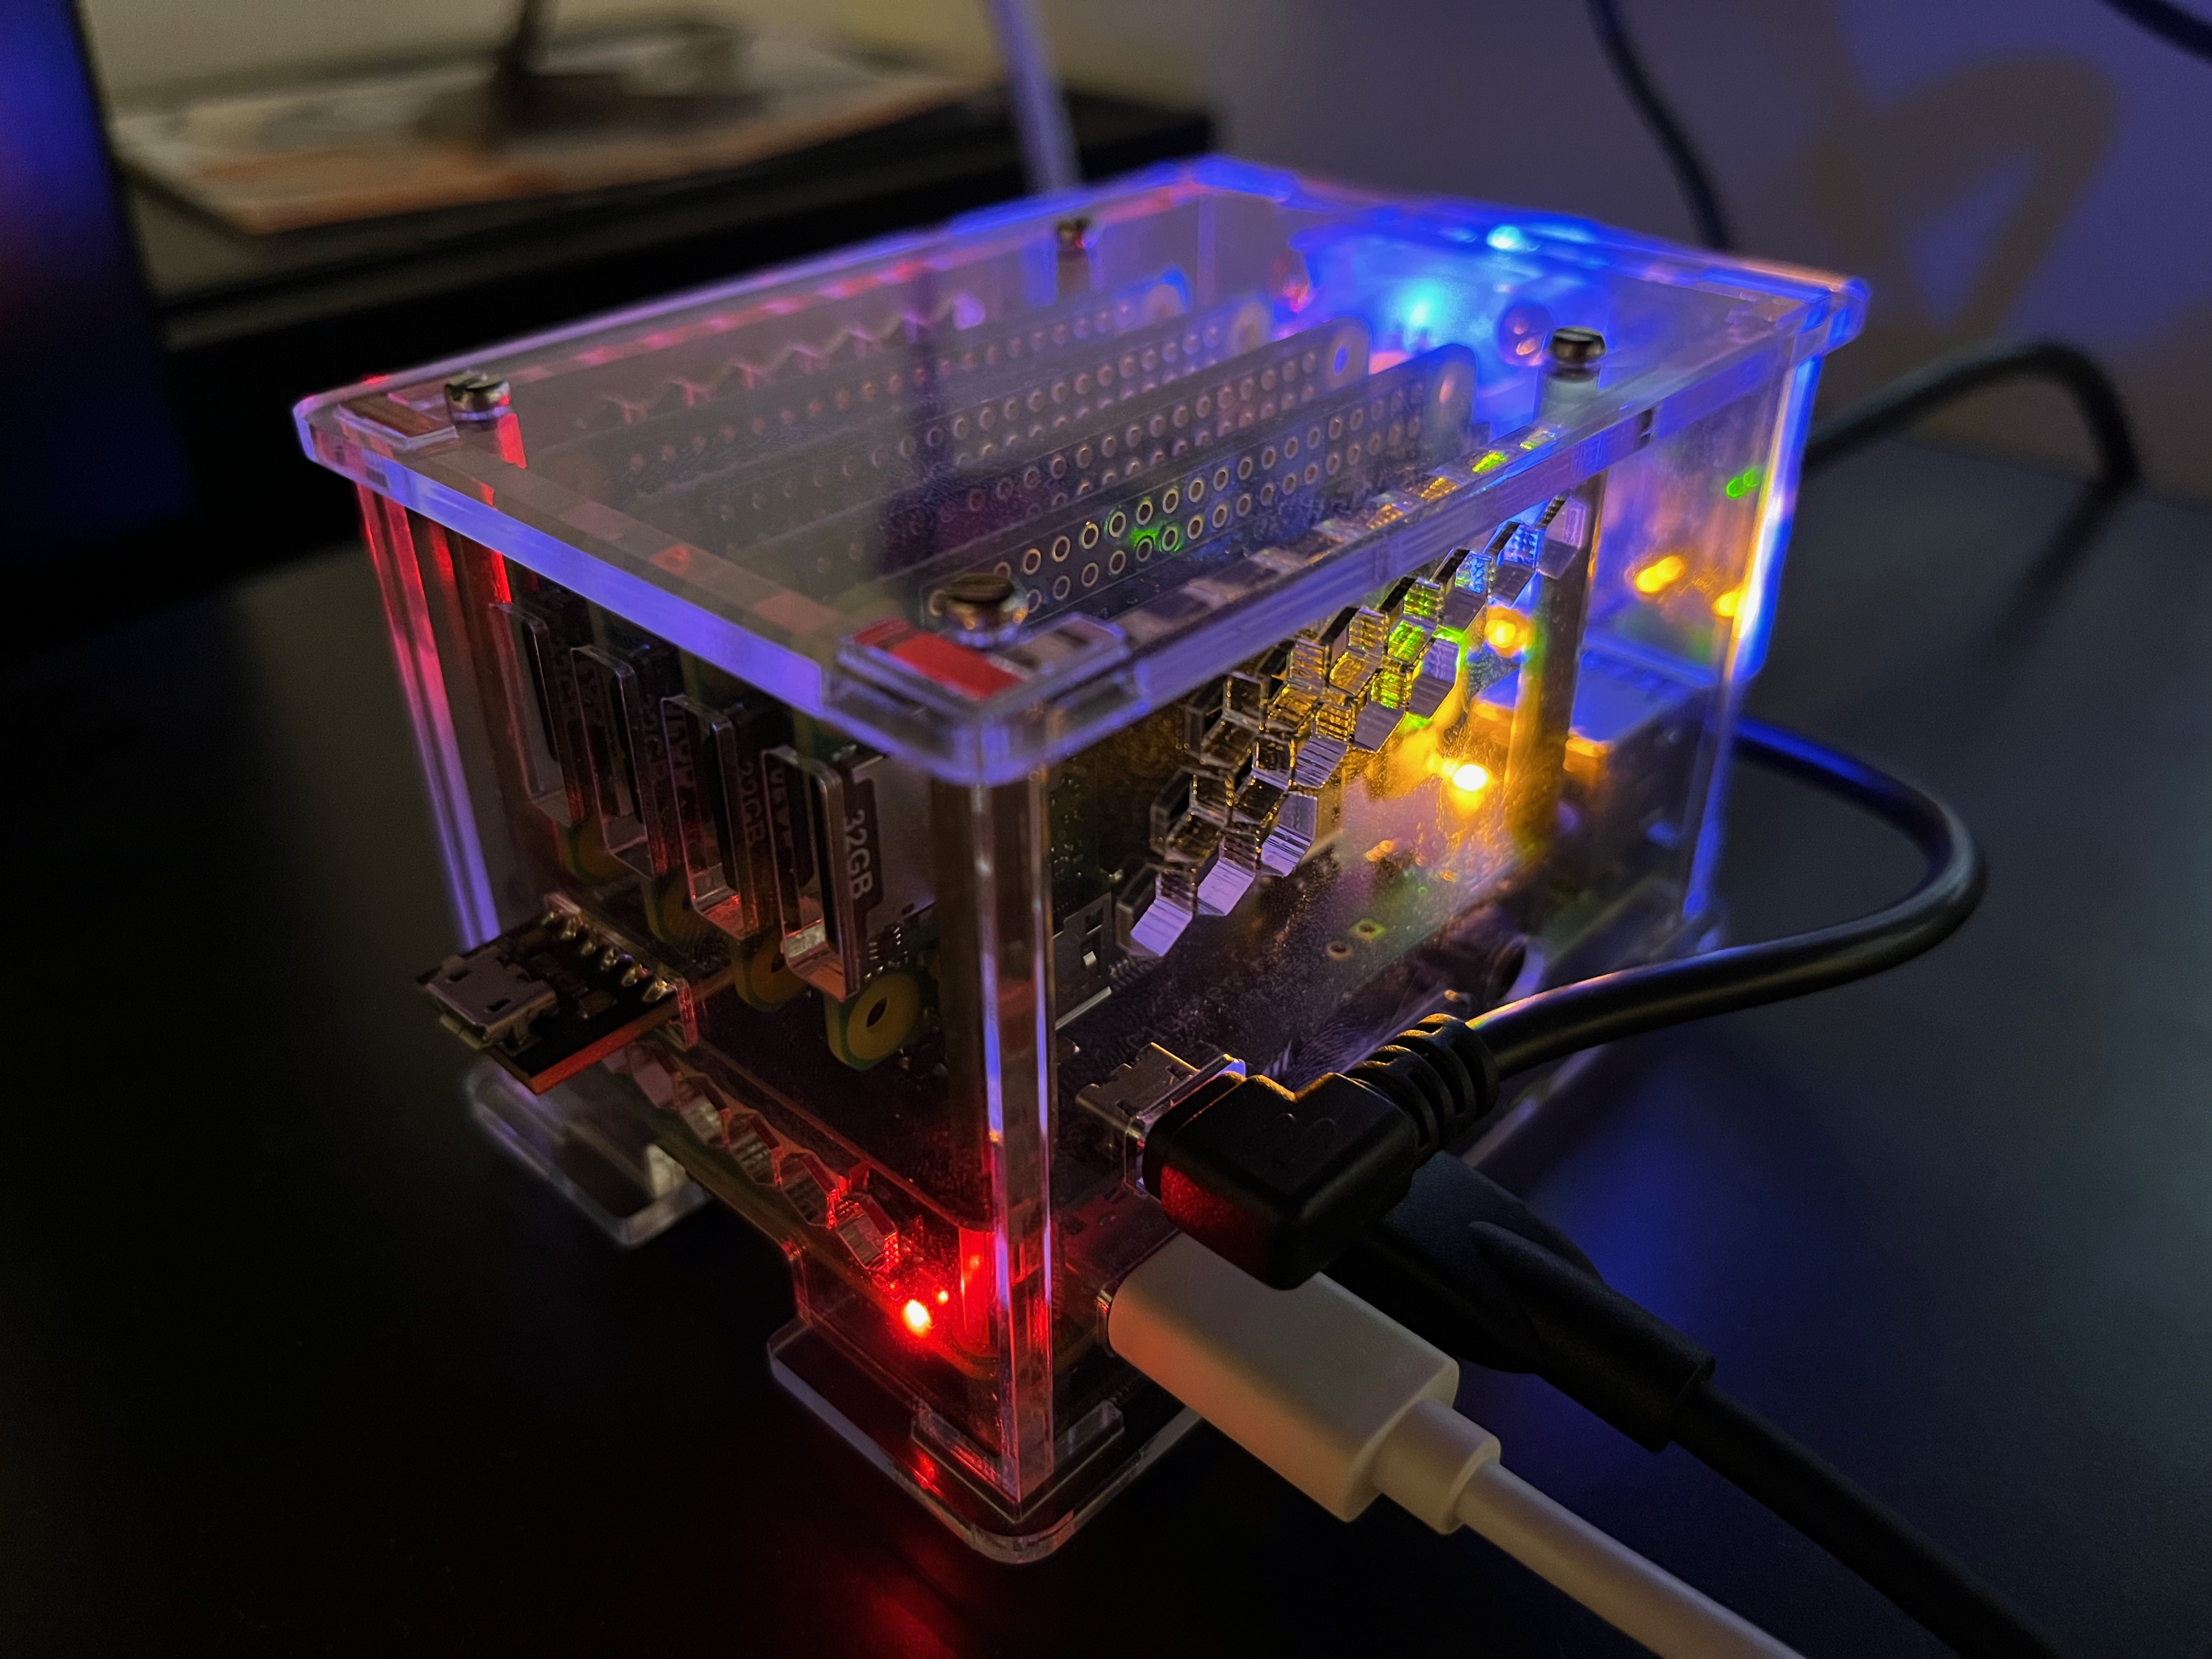
My Raspberry Pi Zero cluster was assembled using a 8086 Cluster Hat which uses USB gadget mode on the Raspberry Pi Zeros to boot up the Raspberry Pis over USB, therefore they do not require their own MicroSD cards and can share the storage of the main Raspberry Pi... However after some testing, adding their own SD cards speeds up disk reads and writes considerably under load.
This has currently been installed in the 1U Rack Mount SBC Shelf that came with the Tecmojo 10" Desktop Mini Rack.
Previous
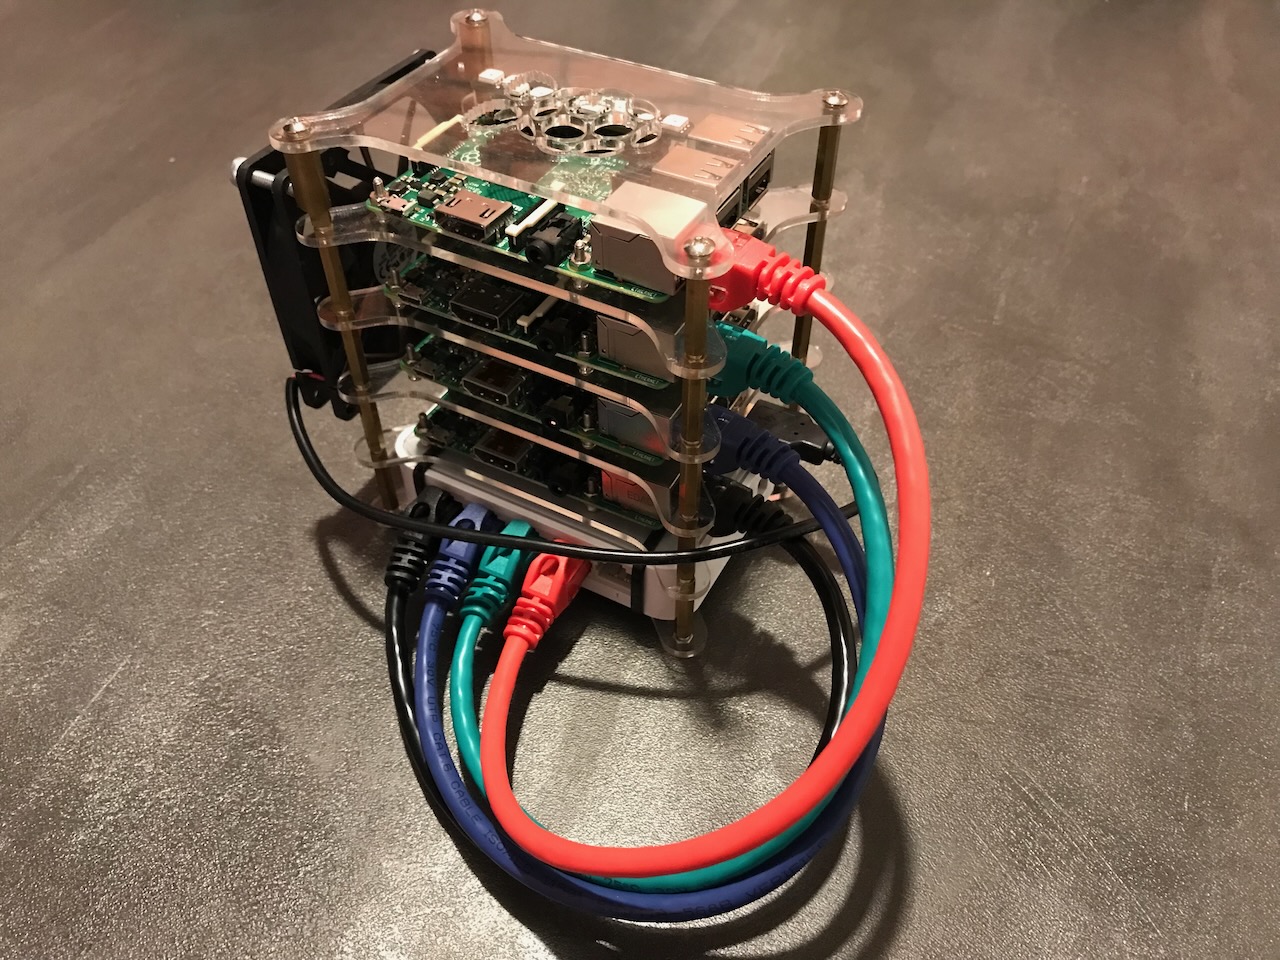
I got this case from eBay, it was not in the best shape, very dusty and scratched, it cost me £68.55 but it did contain 3 Raspberry Pi 3s (including one with broken Wifi and Bluetooth) and a few Micro USB Chargers Ethernet cables. The case also came with a switch that fits at the bottom perfectly.
I cleaned it up with some isopropyl alcohol and re-assembled it with some new screws as some of them were quite rusted.
I assembled this cluster to learn all about Containerization using Docker Swarm mode and eventually, Kubernetes using MicroK8s, however the Raspberry Pi 3s are a little too slow to fully run a K8s cluster with more than a handful of containers.
Original
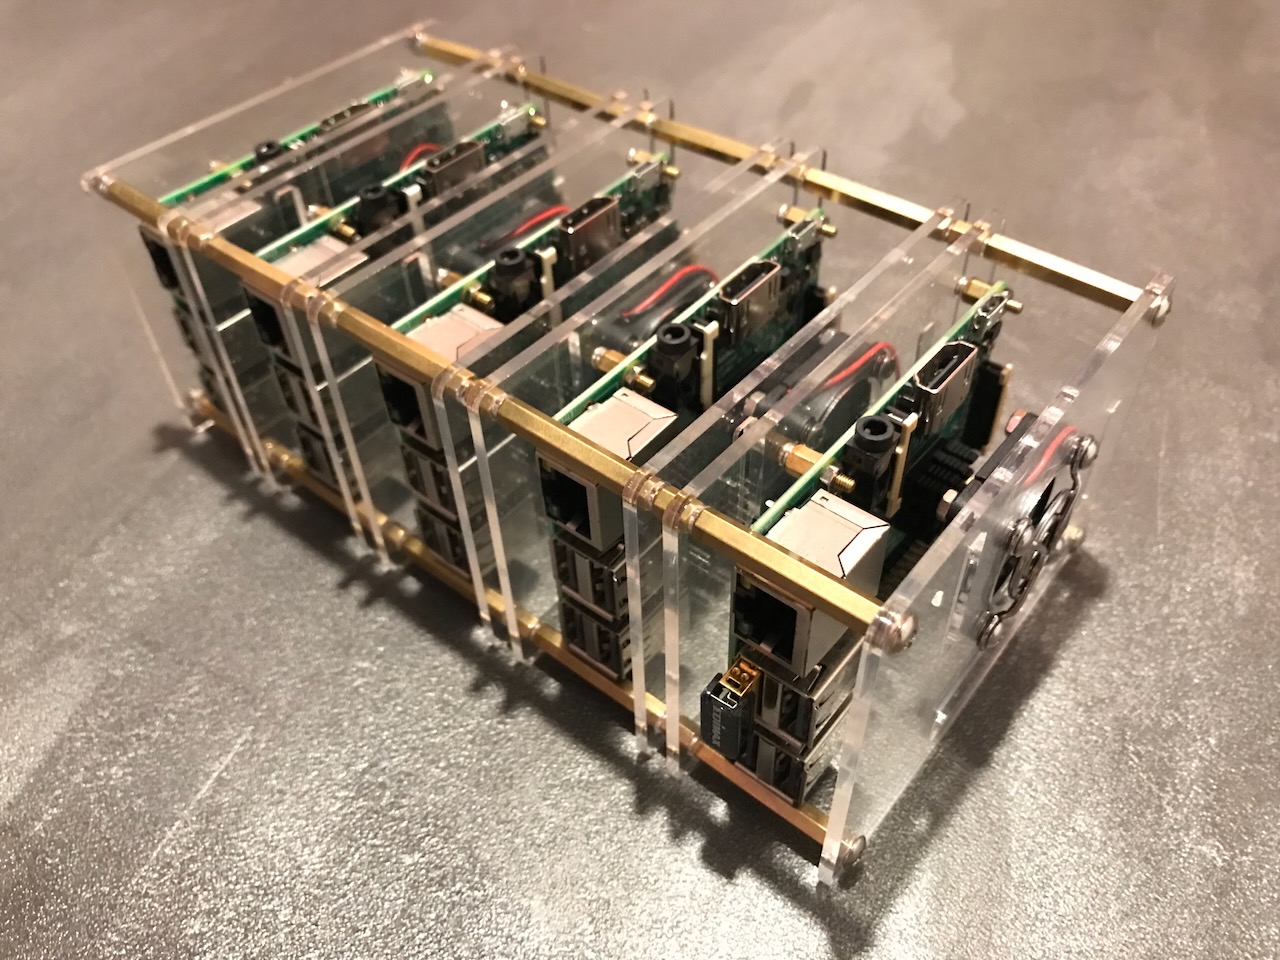
This was my original Raspberry Pi cluster, It was originally 4 layers however I managed to find a case that fit perfectly to add an additional layer. If you look hard enough, you will see that the fan of the bottom layer is in a slightly different place and the standoffs are slightly shorter.
The cluster was later repurposed to learn Ansible when the Raspberry Pi 2s became a little too slow to run Docker.
Mini Minirack
Found these in Gashapon machines on my visit to Japan.
I have the Full set of Computer Accessories, Network Equipment 2 and 2 of the Network Equipment 3 capsules to build the rack.
There is also a 3D Printable version that should be compatible available on Maker world by Made In Japan:
Keyboard, Video, and Mouse Switch (KVM)
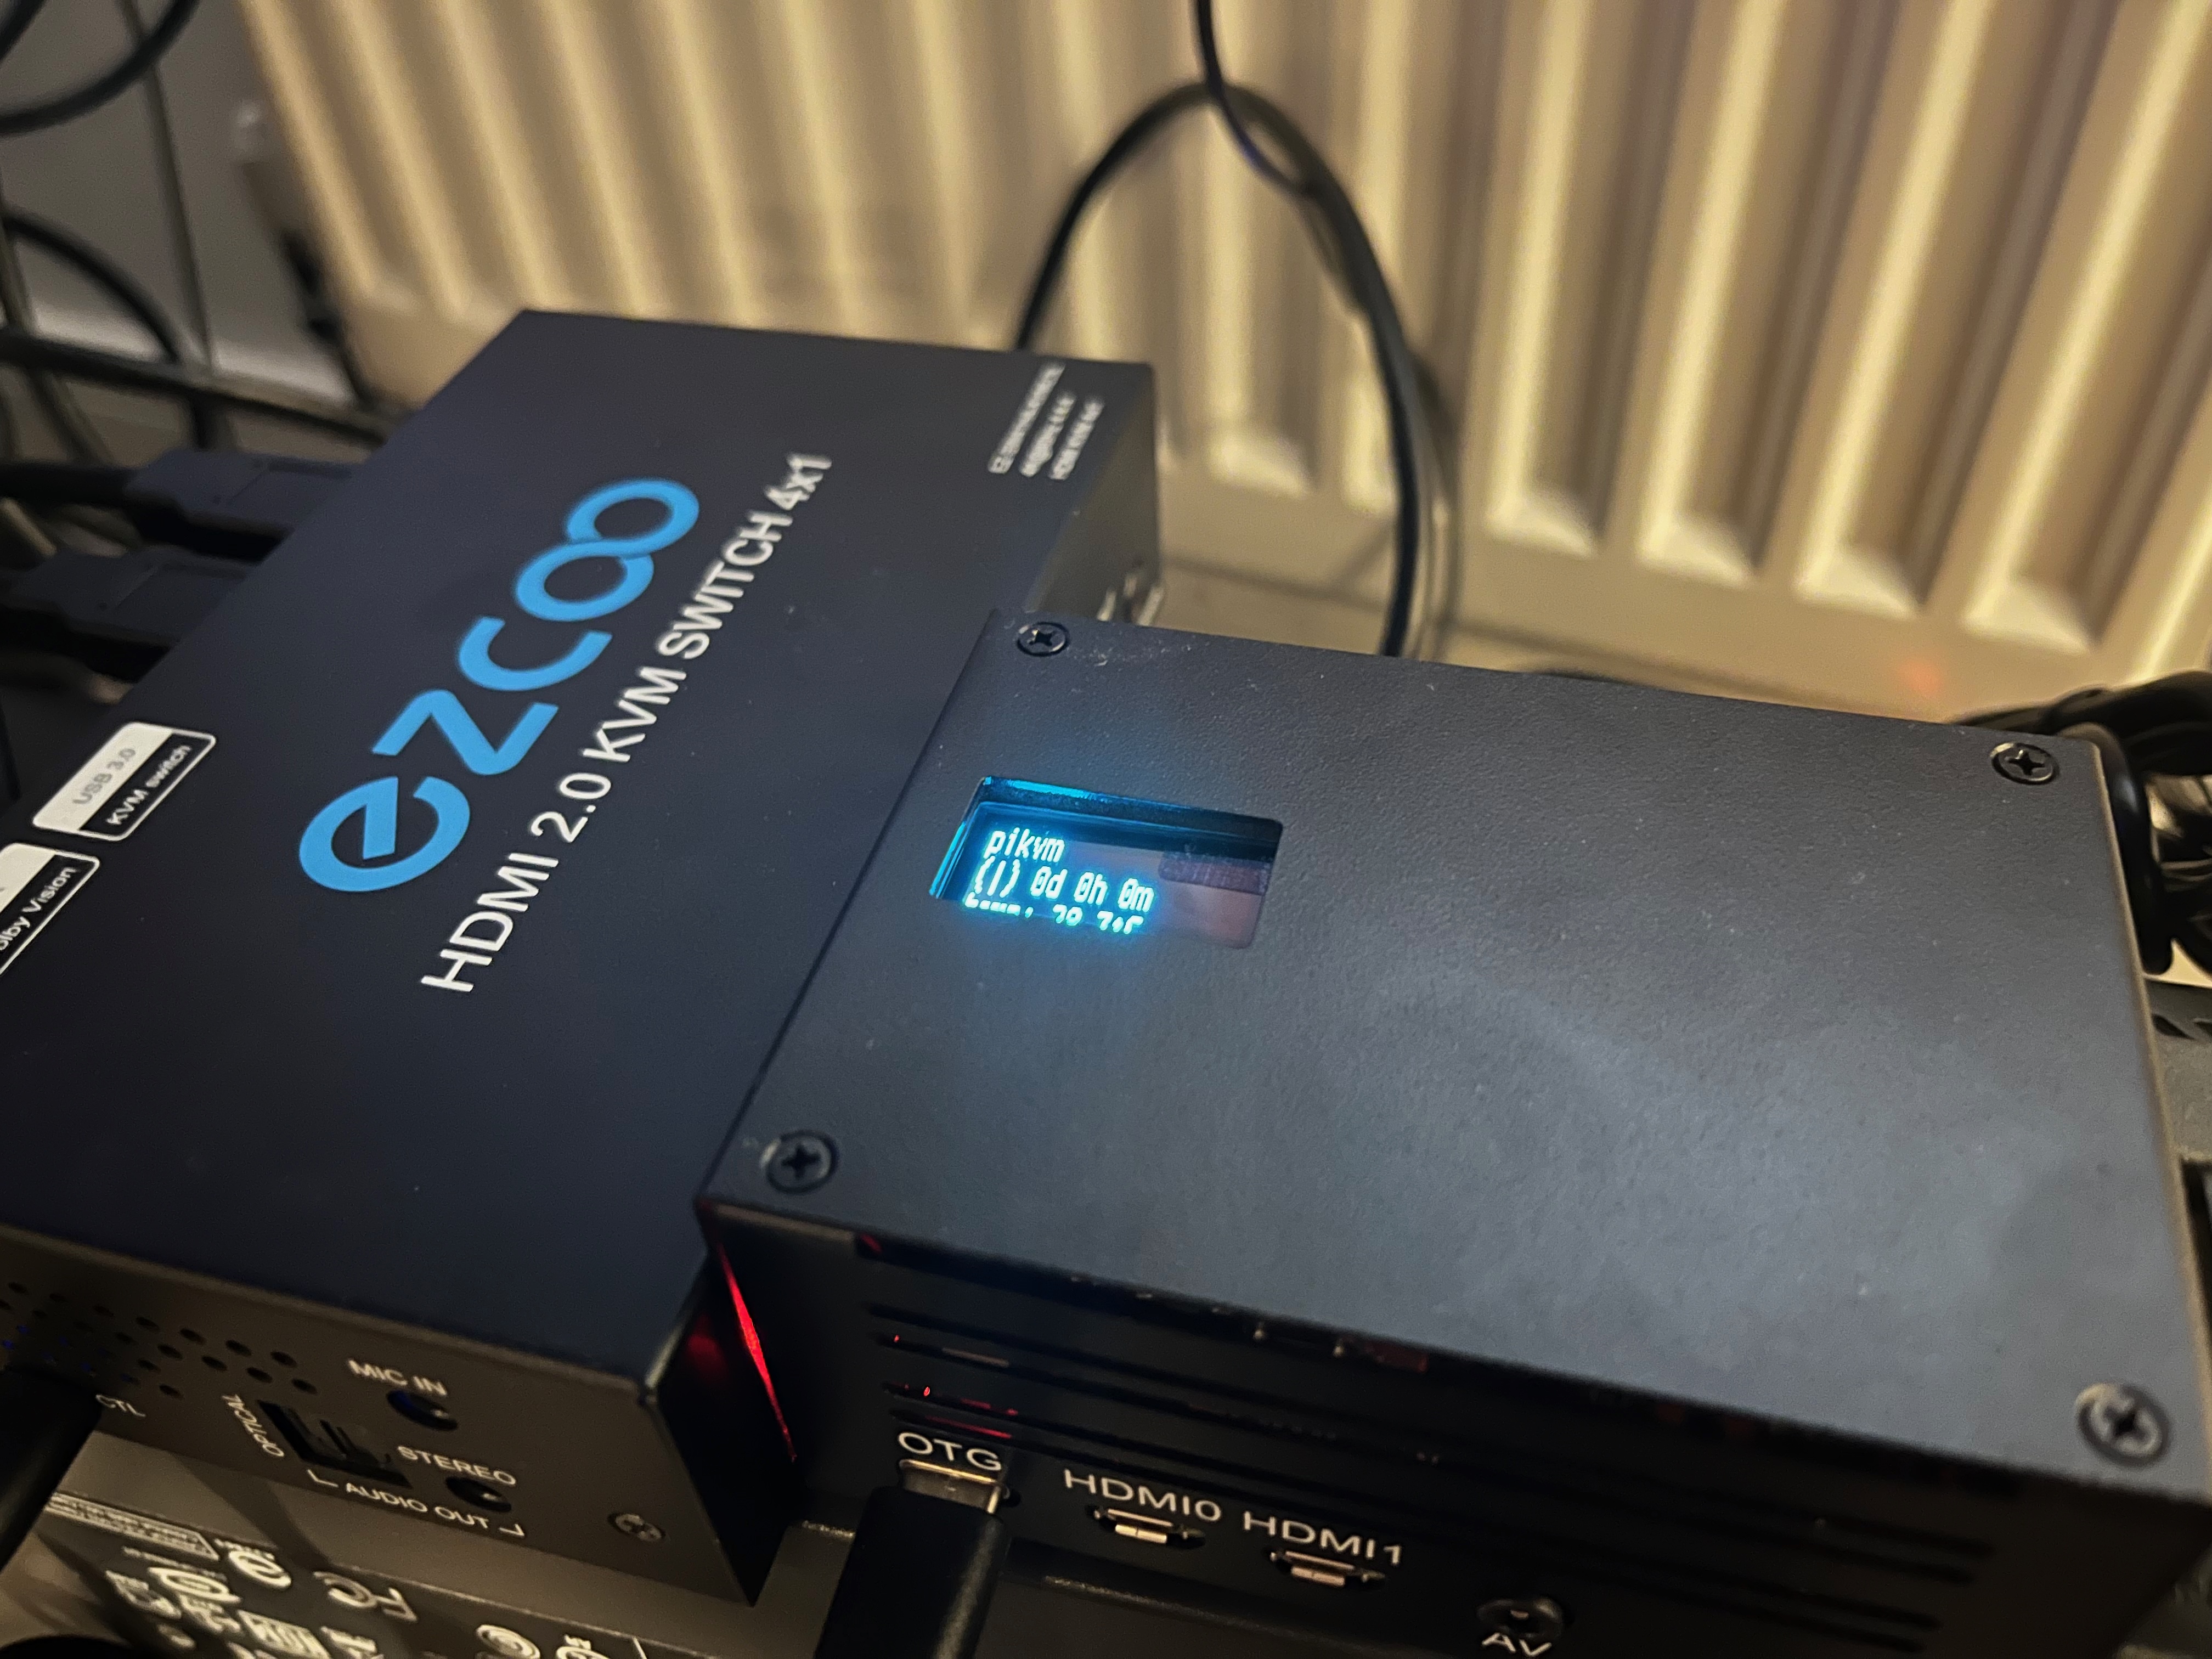
I use a Raspberry Pi 4 under my desk as a KVM switch using PiKVM alongside an Ezcoo EZ-SW41HA-KVMU3L to access 4 machines over my network.
Network Attached Storage (NAS)
General Storage
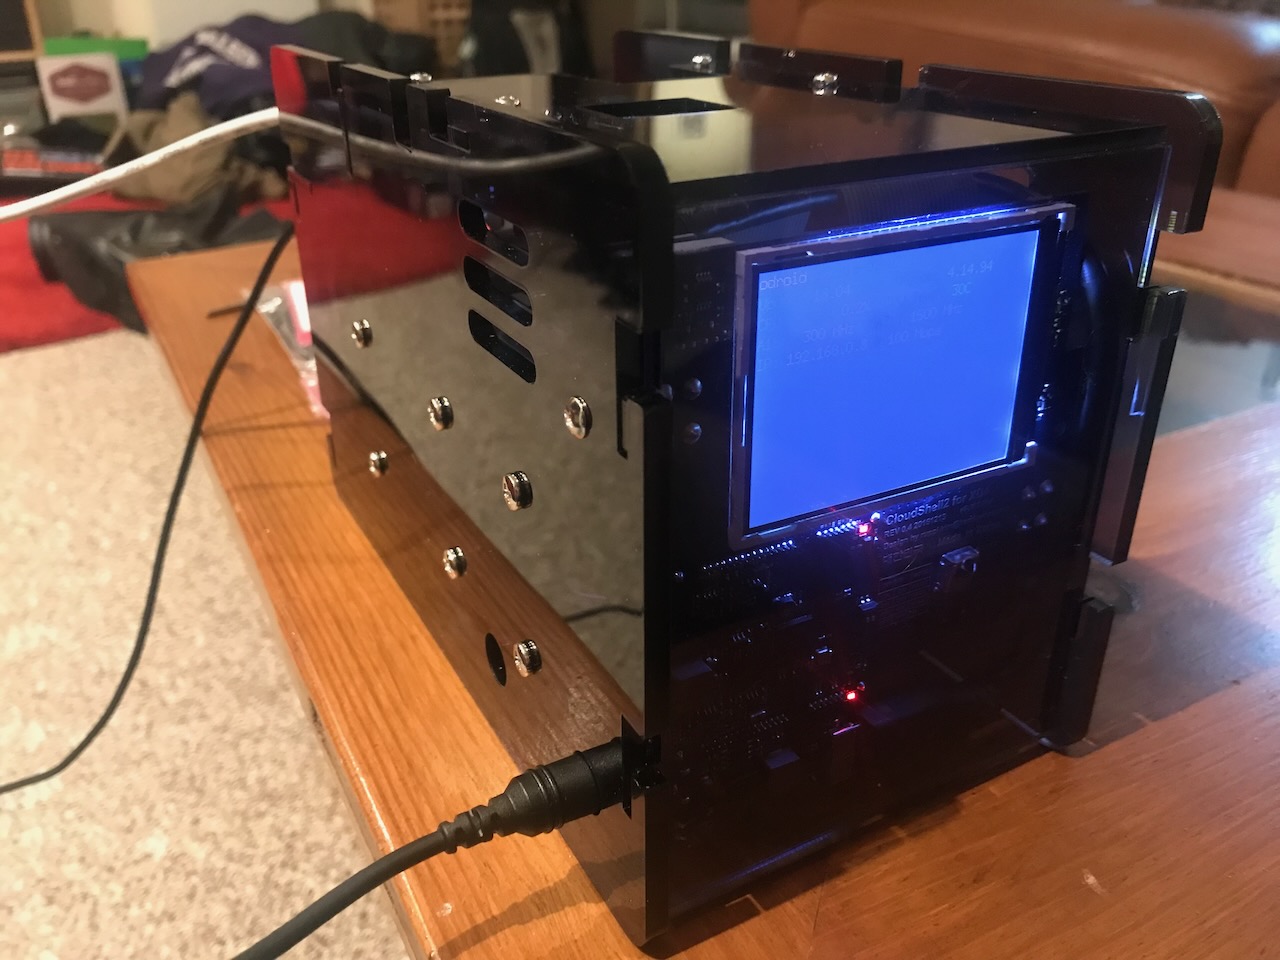
I purchased the Odroid XU4 and CloudShell enclosure to use as a Network Attached Storage (NAS) server to replace an old outdated and failing 1TB Western Digital MyBook World edition NAS.
It also used to be used to run a handful of Docker containers, however, since many containers have dropped 32bit ARM support I have moved them to their own cluster.
Backups and Media
| Item | CPU | Memory | Case | Storage | OS | Hostname | Notes |
|---|---|---|---|---|---|---|---|
| MSI H310M PRO-M2 PLUS for £43.39 | Intel i7-8700 for £57.90 | 32GB Corsair Vengeance 3000MHz £37.99 | Stone Small Factor case with 250W PSU for £14.12 | 2TB 2.5" Western Digital Blue £30.00 | Proxmox VE (8.4.16) | larry | Generic PCIe SATA 3.0 Expansion Card £7.50 |
Flight Tracker
![]()
As I live fairly close to Cardiff International Airport and notice many aircraft flying over my house I have set up a flight tracker find out some more information about the planes and contribute the flight tracking information to FlightAware for others to benefit from the information too.
Gaming PC
My current gaming PC is starting to show it's age now.
| Item | CPU | GPU | Memory | Case | Storage | OS | Hostname | Notes |
|---|---|---|---|---|---|---|---|---|
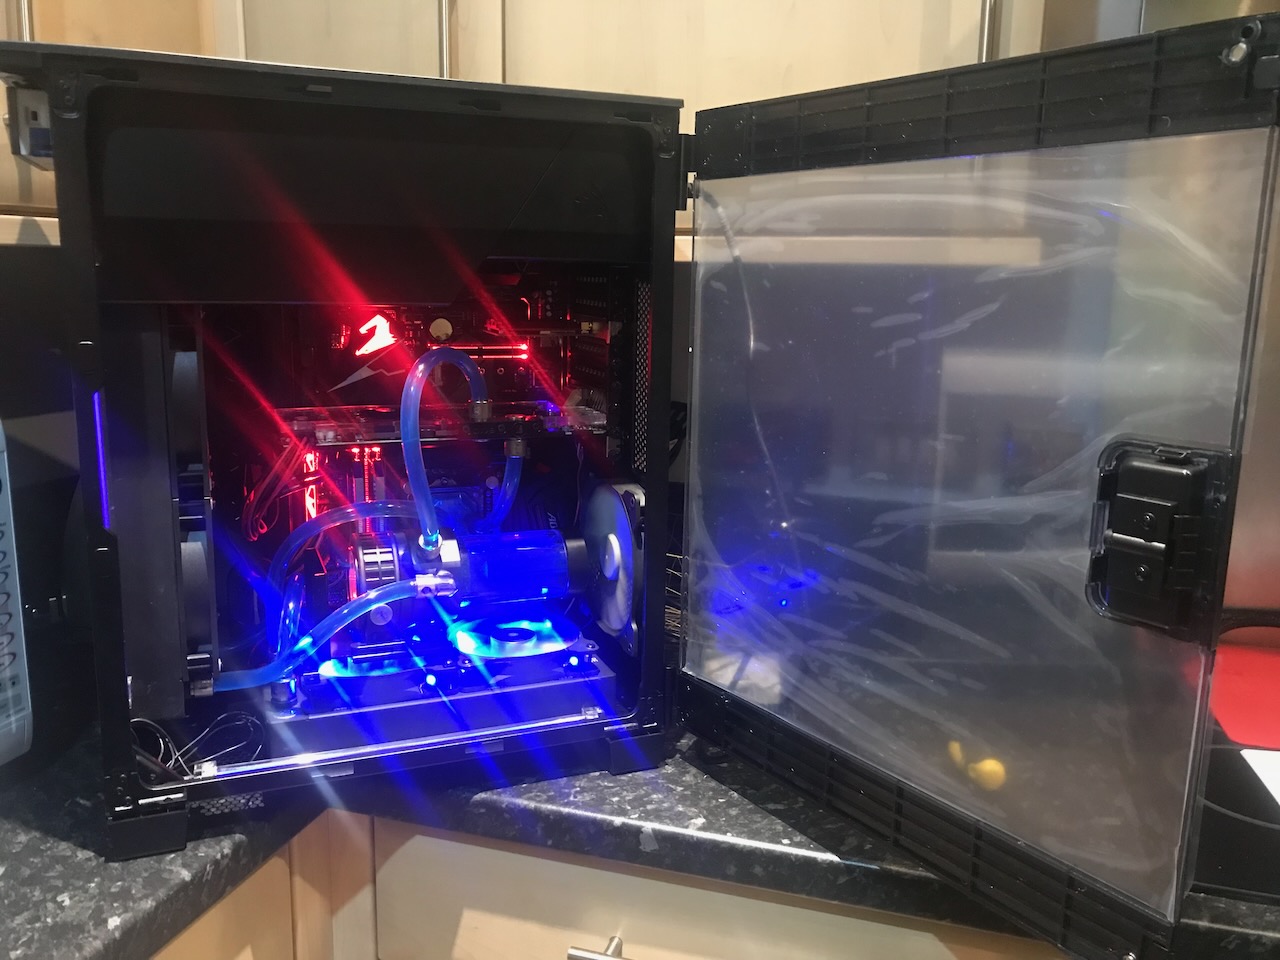
| Gigabyte Z370 Aorus Ultra Gaming | Intel Core i7-8086K 4.00GHz 40th Anniversary | Gigabyte GeForce GTX 1080 Windforce | 32GB Corsair Dominator Platinum 3000MHz | Corsair Carbide 600C Inverse | 1TB Crucial P5 M.2 | Windows 11 | Mike-PC | EK Water Blocks P280 Watercooling Kit, extra PE 240 Radiator and GPU Water Block with Backplate |
VR Room
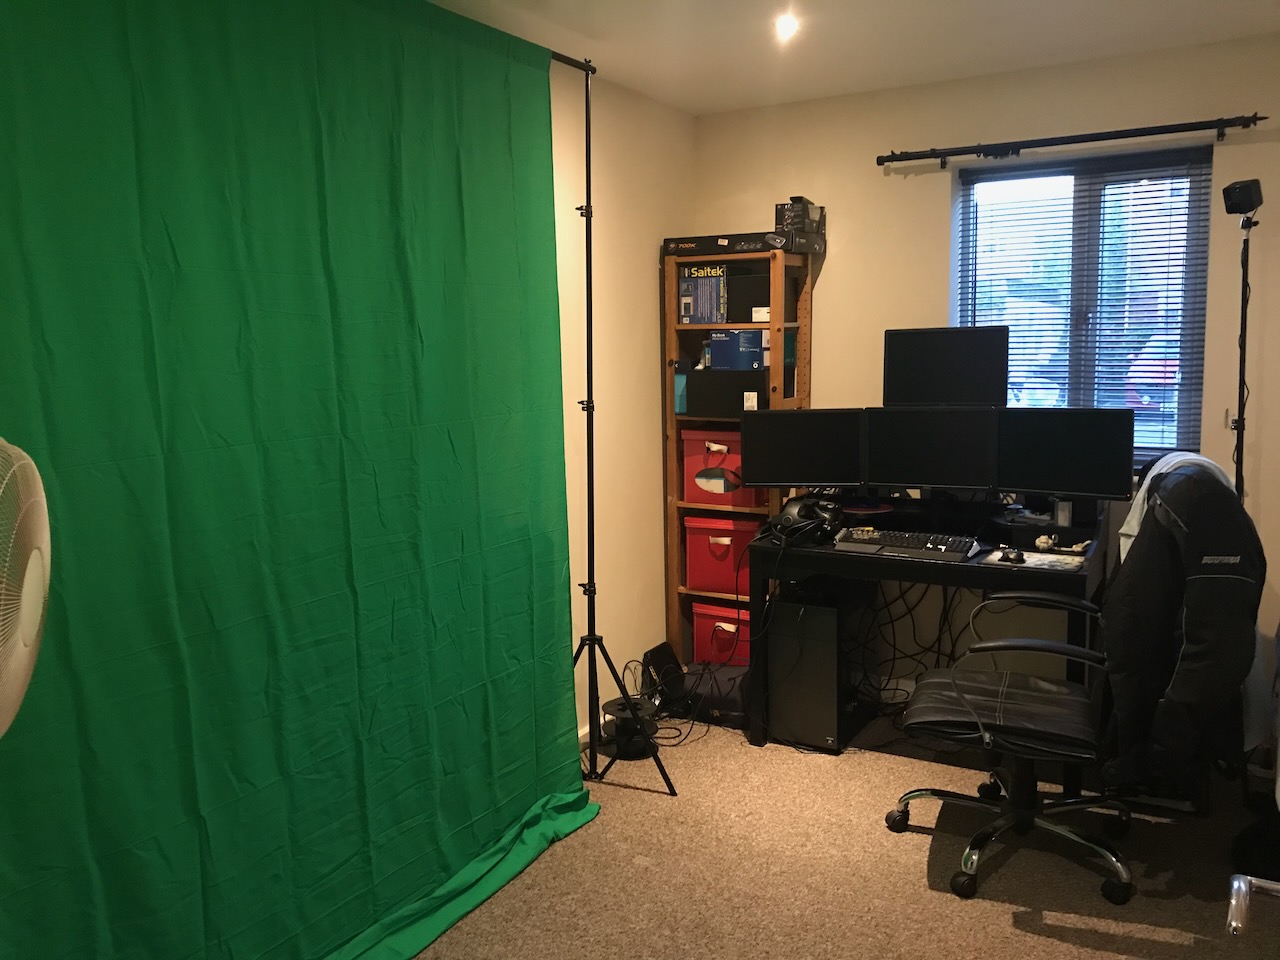
The first iteration of the VR room designed to be able to compose me playing VR games in real time in a third person view to be streamed on twitch.
The first creen was a little small to film anything other than me standing in front of, to allow a full third person view I needed to purchase a wider screen to allow me to be filmed from further back.
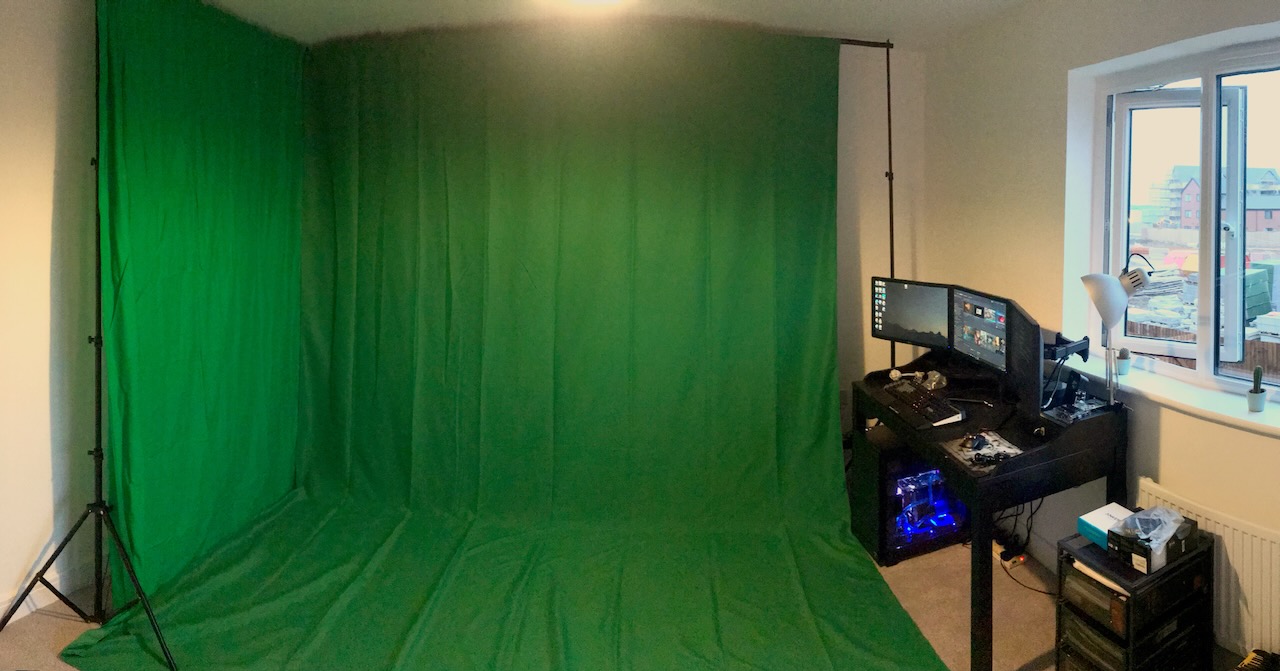
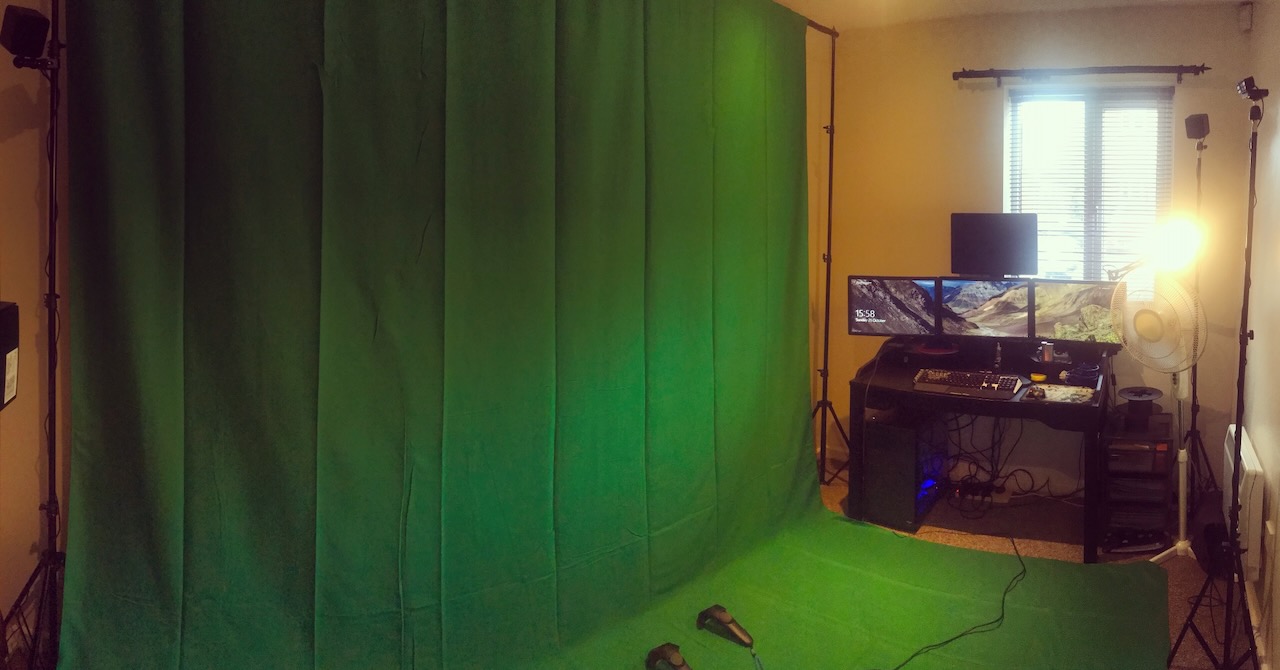
When I moved house I had a larger space to play with therefore I decided to extend the screen across another wall to allow better angles.
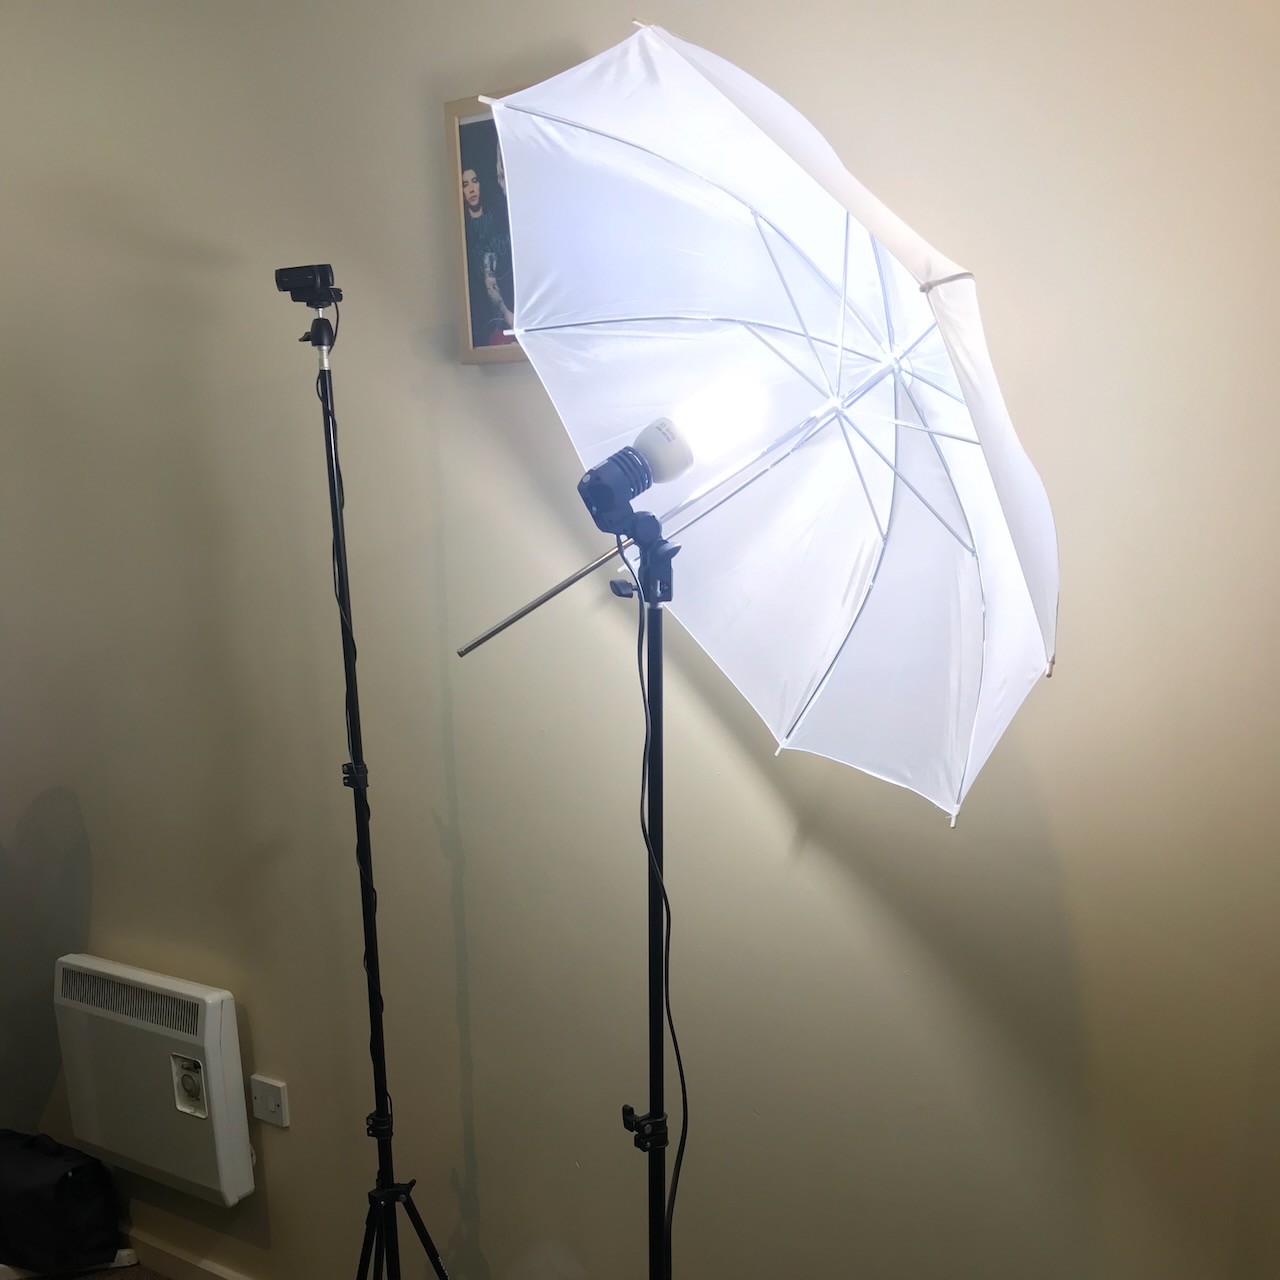
I also invested in a few umbrella lights to fully illuminate the screen properly. I ended up with 3 of these umbrella lights, 2 to illuminate the screen and one to illuminate me whilst I played. Eventually I upgraded the bulbs to hue colour changing ones to allow me to sync the colours being projected onto me with what was happening on screen using the Entertainment Areas feature for further realism.
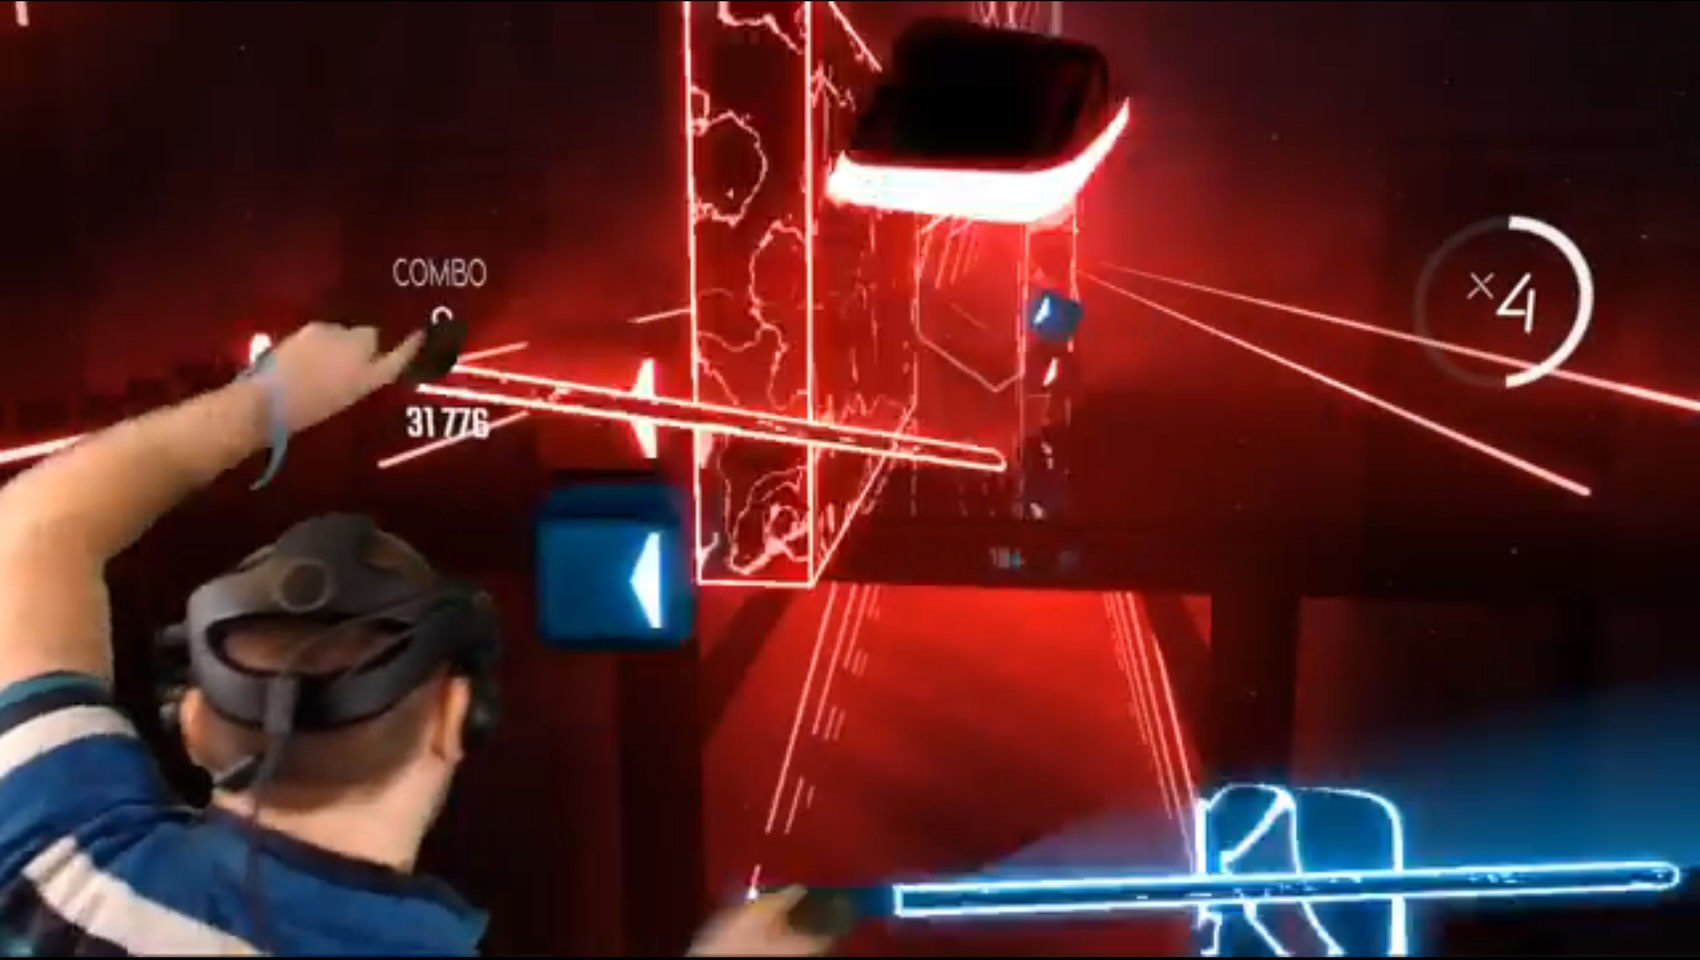
An early example of what the video looked like after composition.